
 Our process for buying this house was a whirlwind of a time. In six day’s time, we’d had our first meeting with our mortgage broker, got pre-approved, went to look at Harvard Street and made an offer. Crazy. We had a few “holy moly, is this really happening?” conversations but we just knew from the moment we walked in there, it was the house for us. Fast forward to a few weeks before Christmas – we closed on the 10th and had a week to get the house painted and prepped for our big move. My goal was to be settled in before Christmas so we didn’t waste any time. My mom and I started painting closets, our bedroom, the living room and the downstairs hall. Jamie dove into getting the dining room prepped for painting. The walls are covered in a faux wood laminate. Yuck. Here’s what it looked like the day we had our first showing.
  Our very first order of business was to remove the spindles. What a huge difference it made having them down. The space totally opened up. Here’s a before and after (Ignore the kitchen. We’re currently working on updating that. Follow me on Instagram @stylingharvard to see the latest updates).
 We made sure we did our research with the paint pros at Home Depot and picked up all the supplies we needed: a special cleaner consisting of TSP powder and water in a spray bottle, oil based primer, mineral spirits, sand paper, ceiling paint, and finally our wall color paint. First, we had to rough up the walls and cracks with sand paper. Next, we sprayed the walls down with a cleaning mixture. After that was done, we started with the oil based primer. That took two coats. Two coats of super smelly oil based primer in ice cold weather. We debated: open a window and freeze or keep it shut and pass out from fumes. We opted for the former. Finally (5 days later), we were ready to start with the wall color. Thankfully, that covered with just one coat. We had used the color in our previous dining room and always got so many compliments on it. I had that color in mind for our dining room apartment but had a hard time finding a paint swatch similar to what I wanted. One day I was at Home Goods and stumbled across a table runner that was the perfect color. I took it to Home Depot and had them color match it. What a great decision that was. Clearly we really loved it because we just had to have it on Harvard.
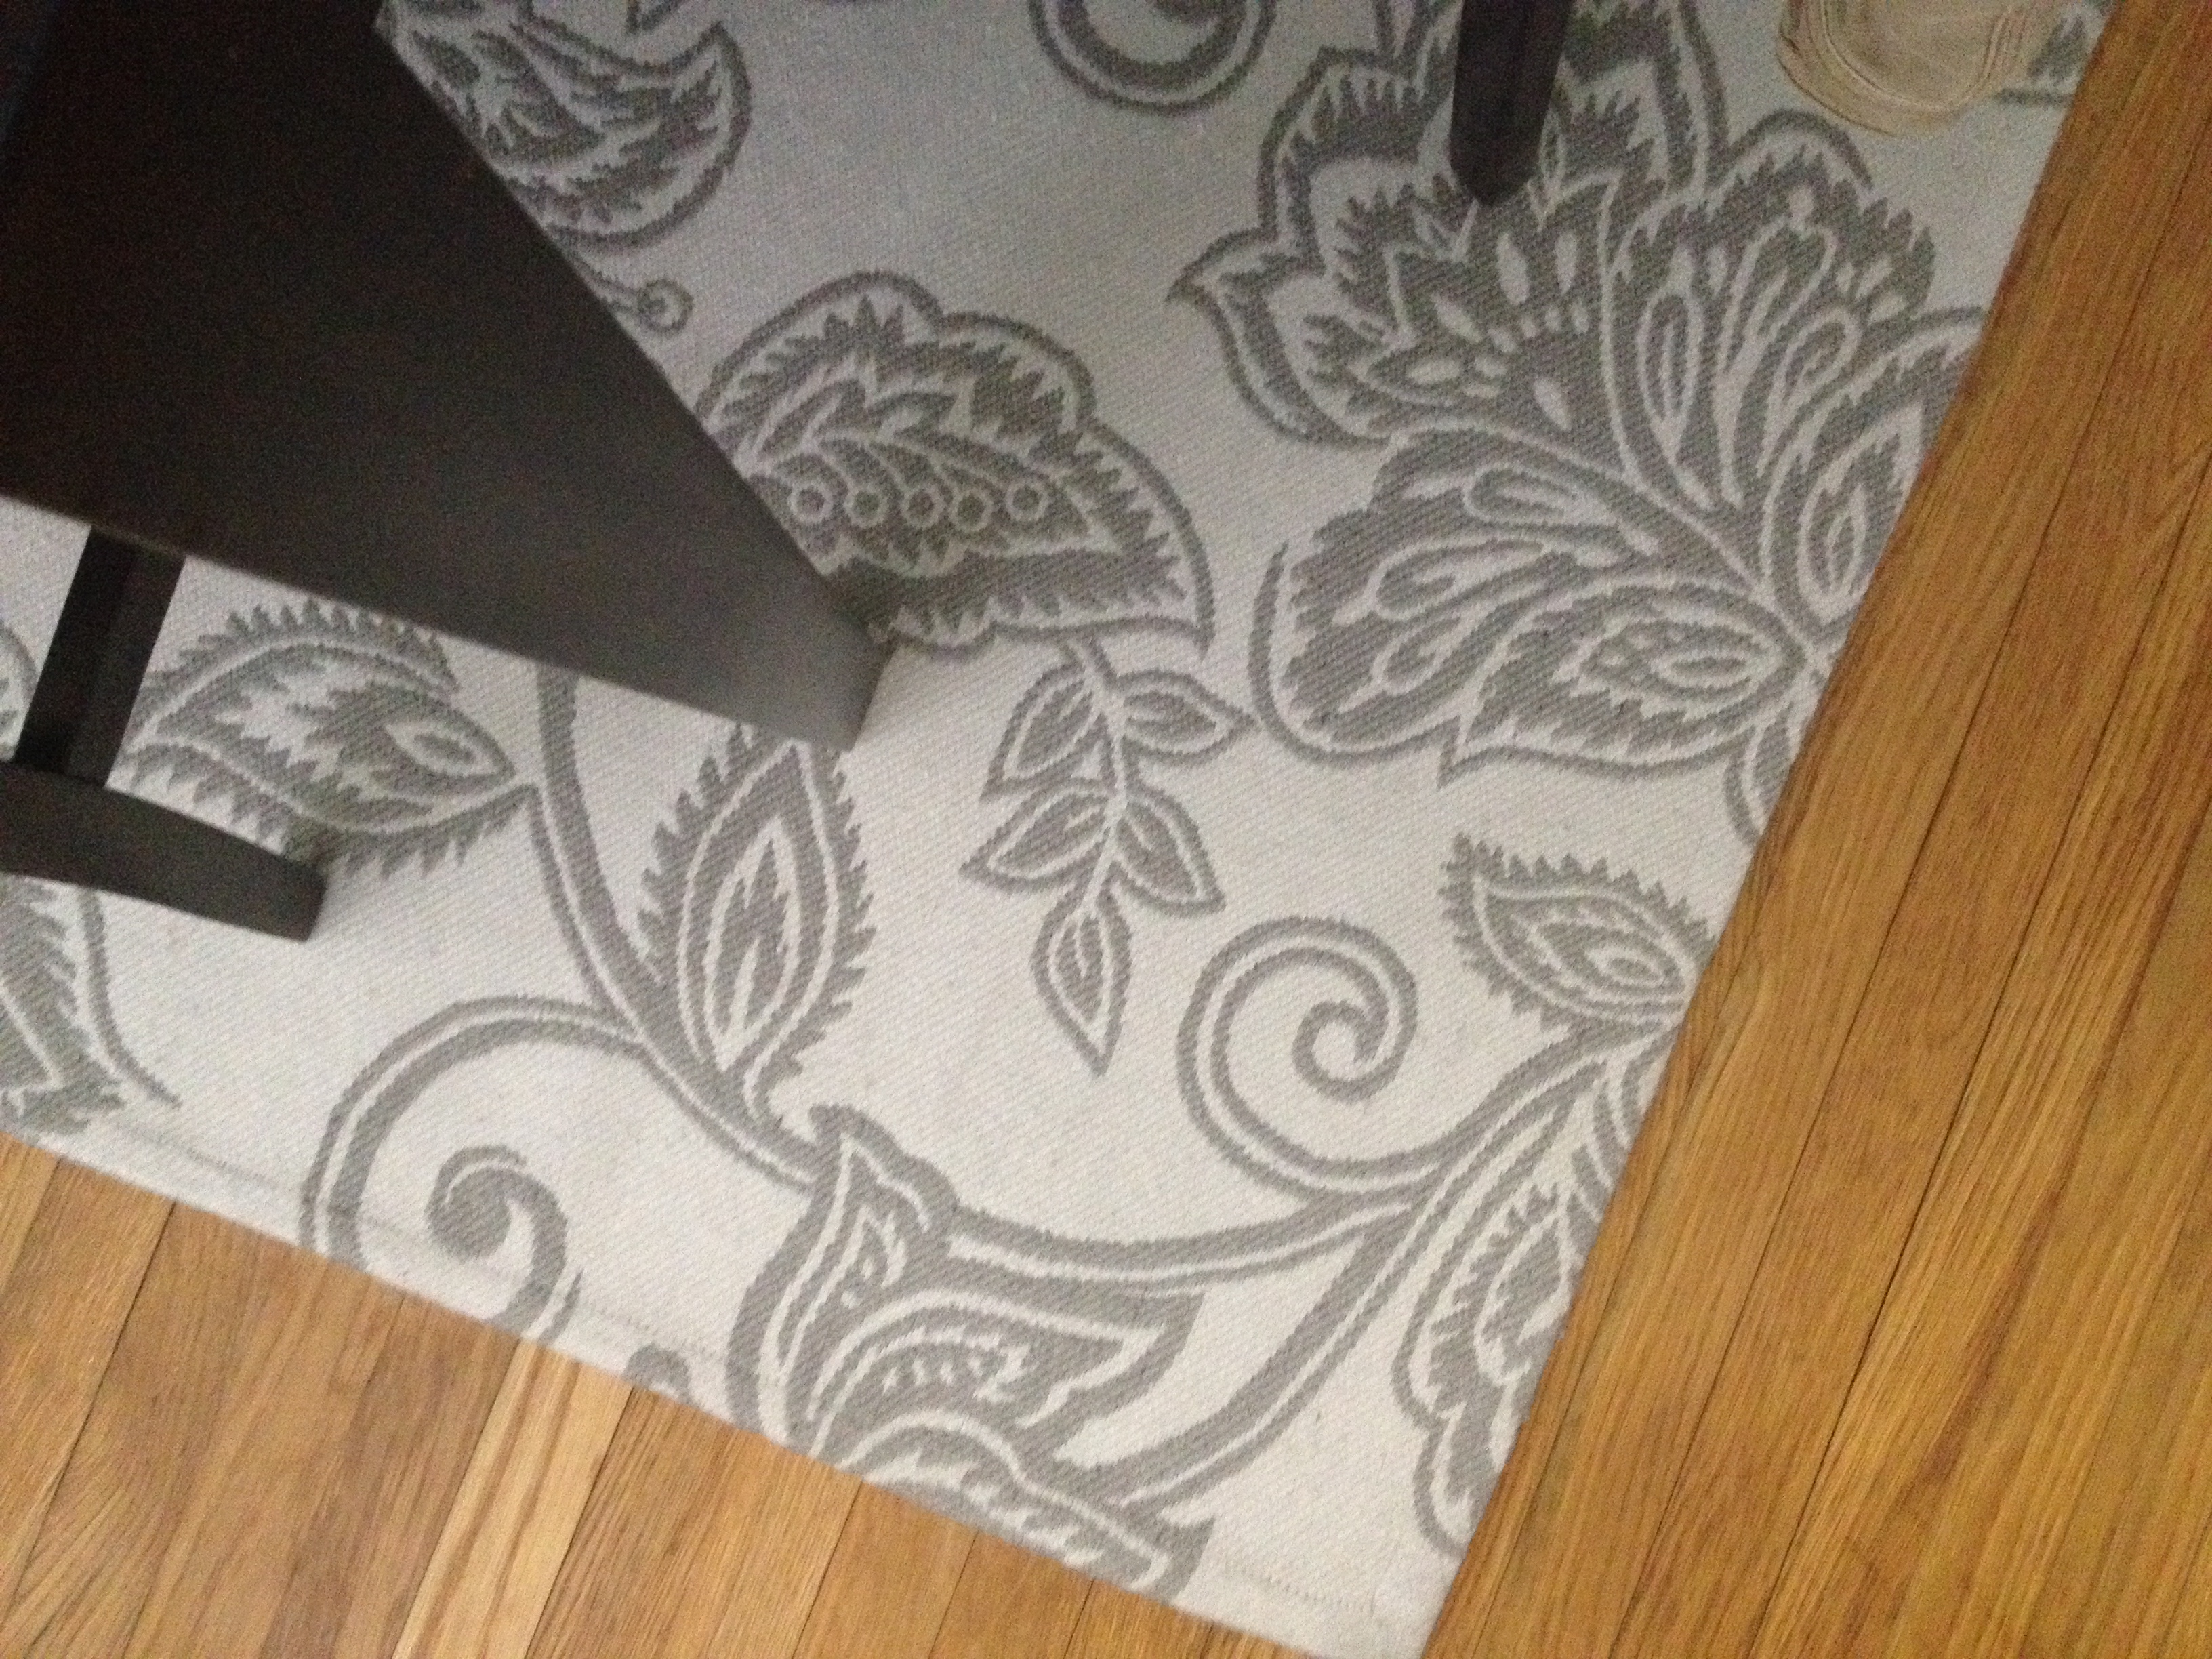
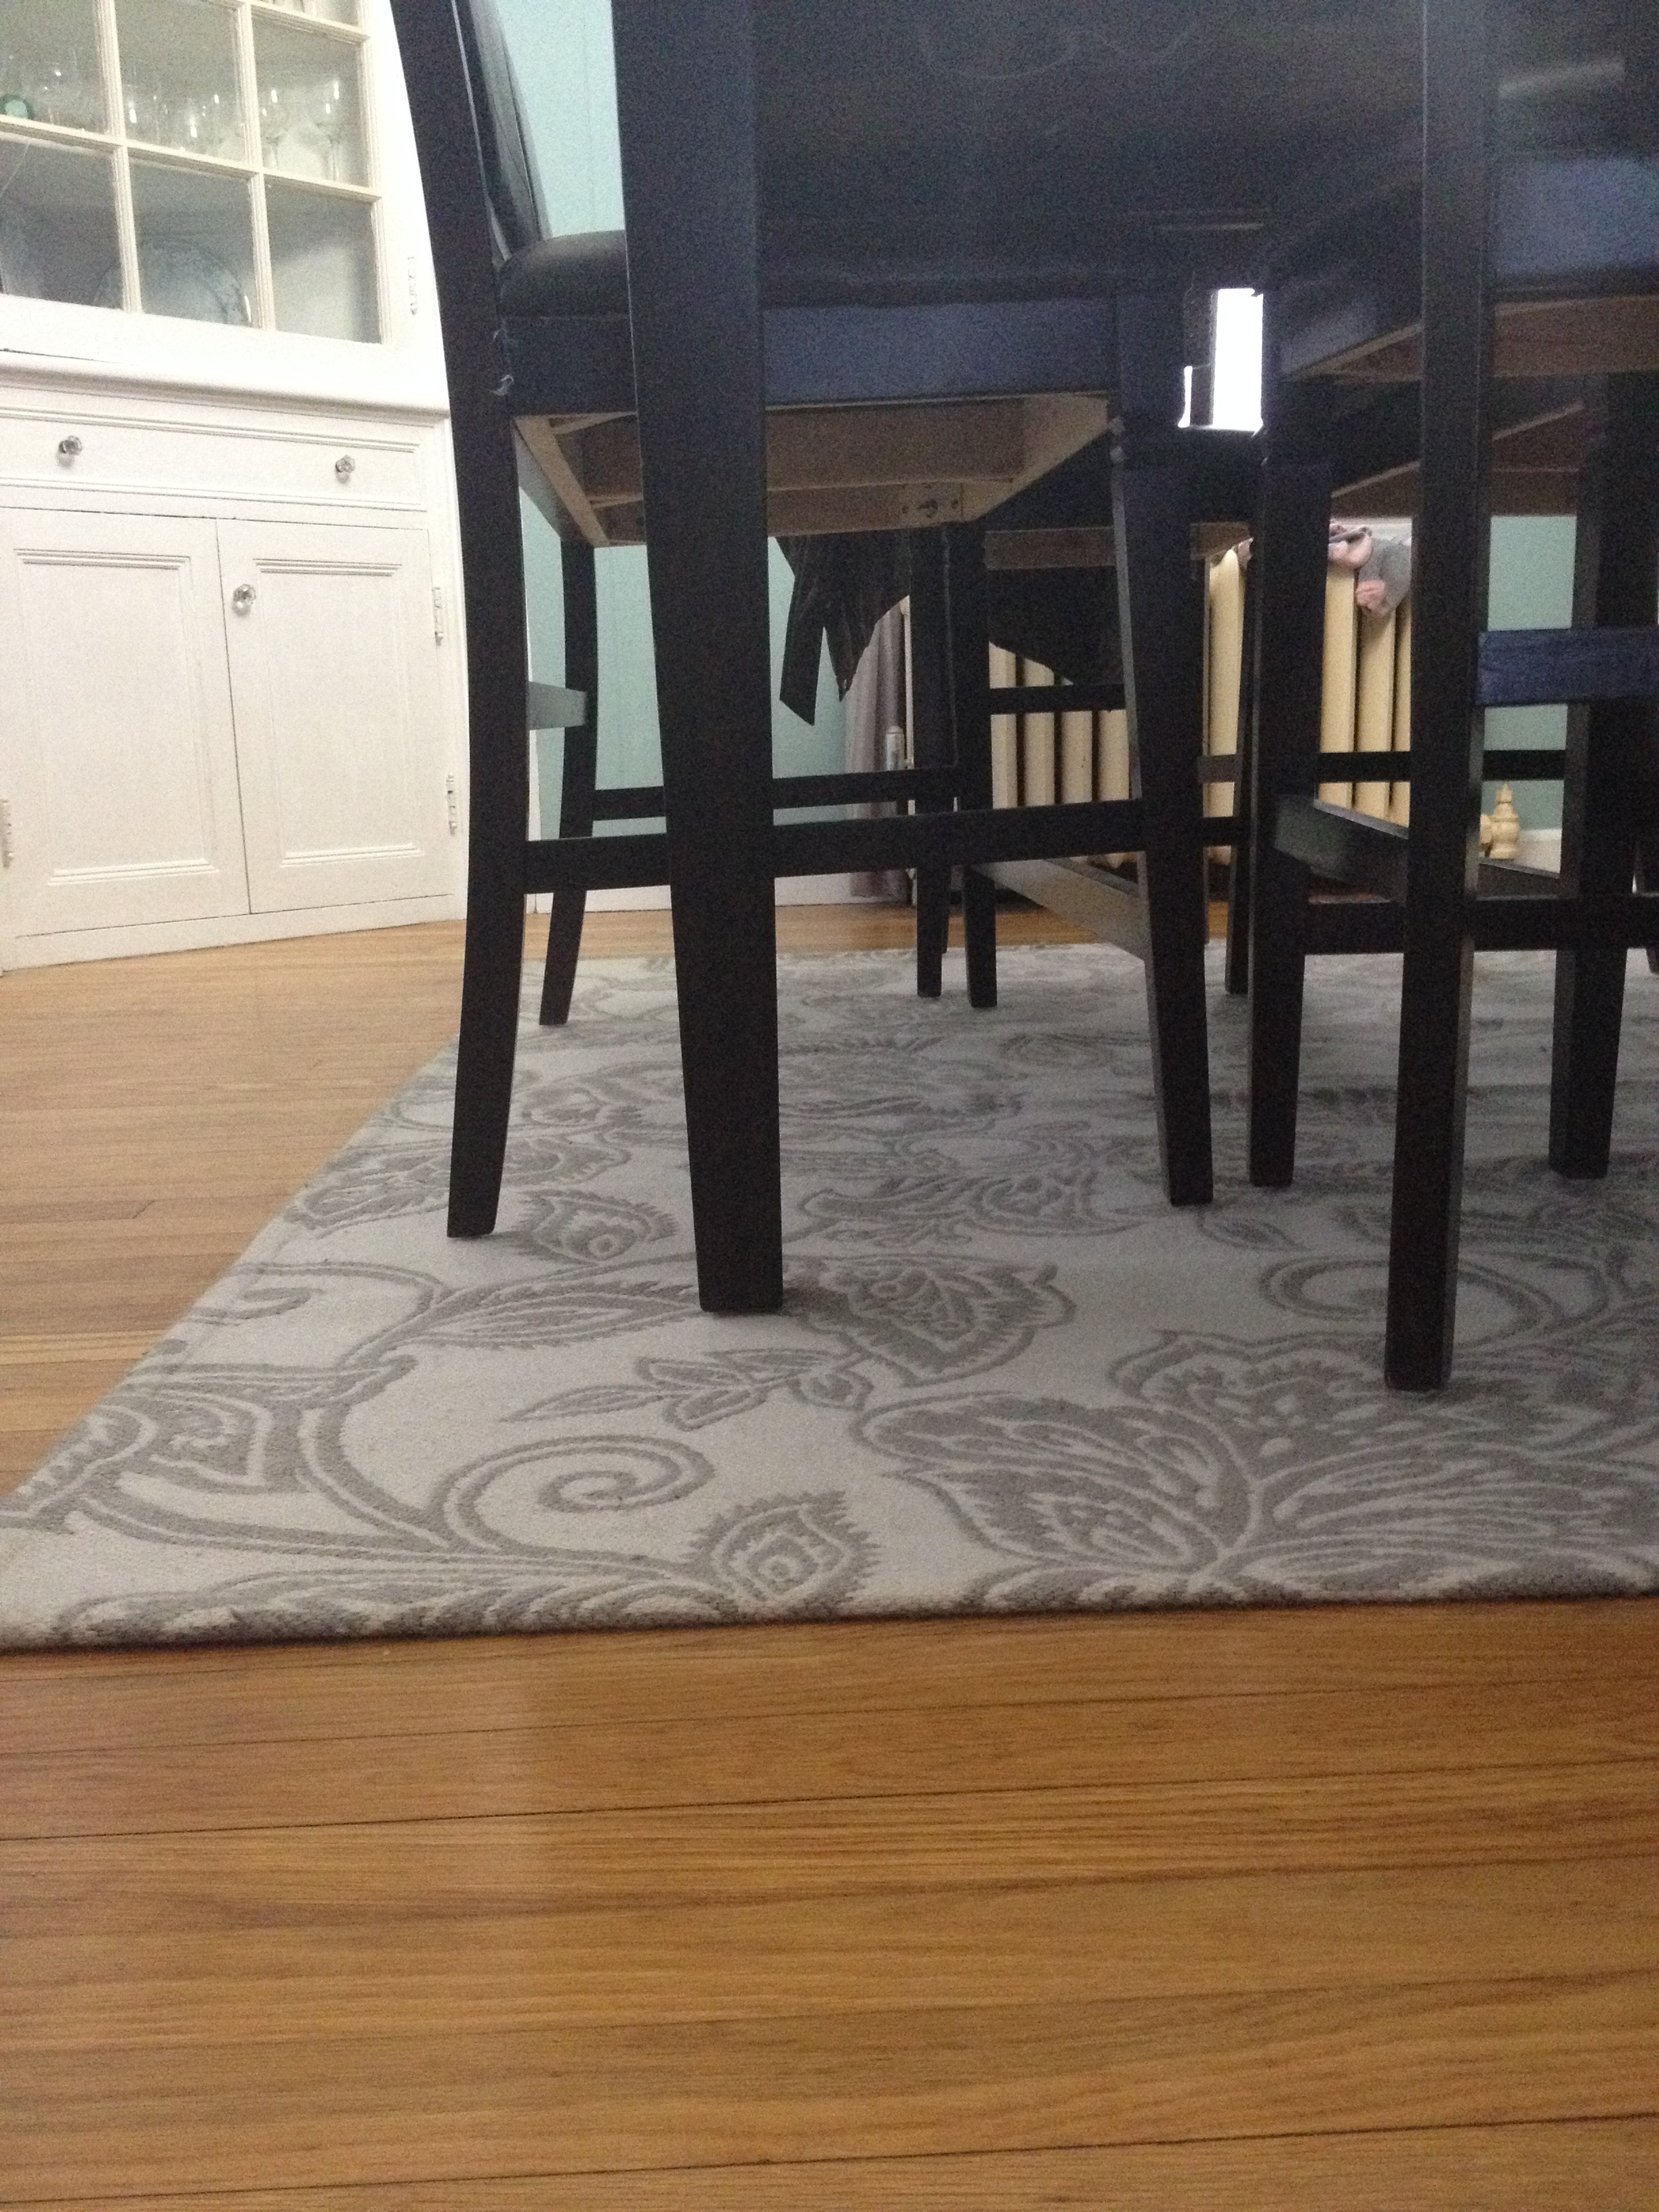
Next, it was on the ceiling. The ceiling is textured and had this awful yellow color to it. I did 2 coats of ceiling paint (the kind that goes on pink and dries white) but it could definitely stand another coat in some spots. With all the cleaning, sanding, priming, and wall and trim painting, it took us 7 days to get the room done. I have to say, it was certainly a labor or love but I am in just gaga over the finished product. I find myself staring in there appreciating all the work we put into it. Since this picture was taken, we found a perfect 5″x7″ rug at Marshalls for the room. 

So I know Christmas is over but…isn’t the dining room tree so cute and matchy?!

Here’s are the supplies we used during this project. Not pictured is the primer because it is now covered in paint. We used Zinsser oil based primer. We bought everything at Home Depot but I’m sure they can be found at Lowe’s as well. 

[…] We painted over the laminate wood paneling (see my tutorial from when we did it in the dining room here.) in Behr’s Gentle Rain. I loved the color so much that I painted our front entry and […]